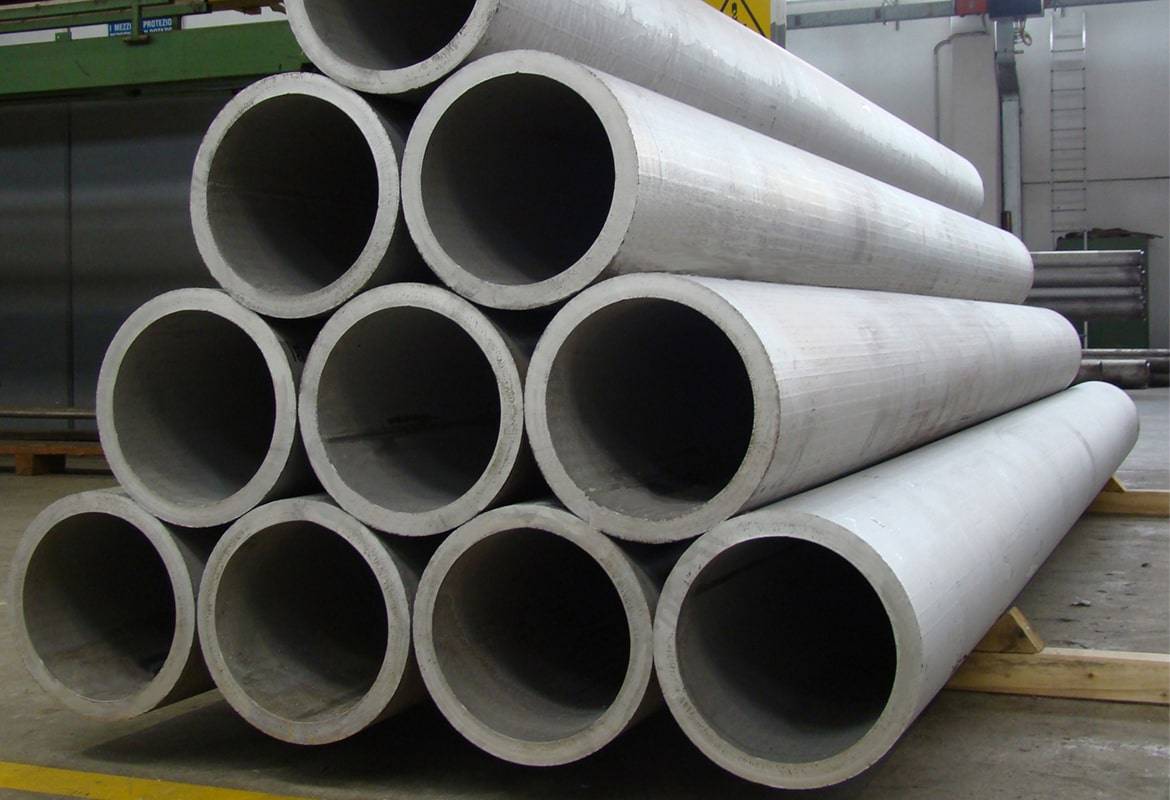
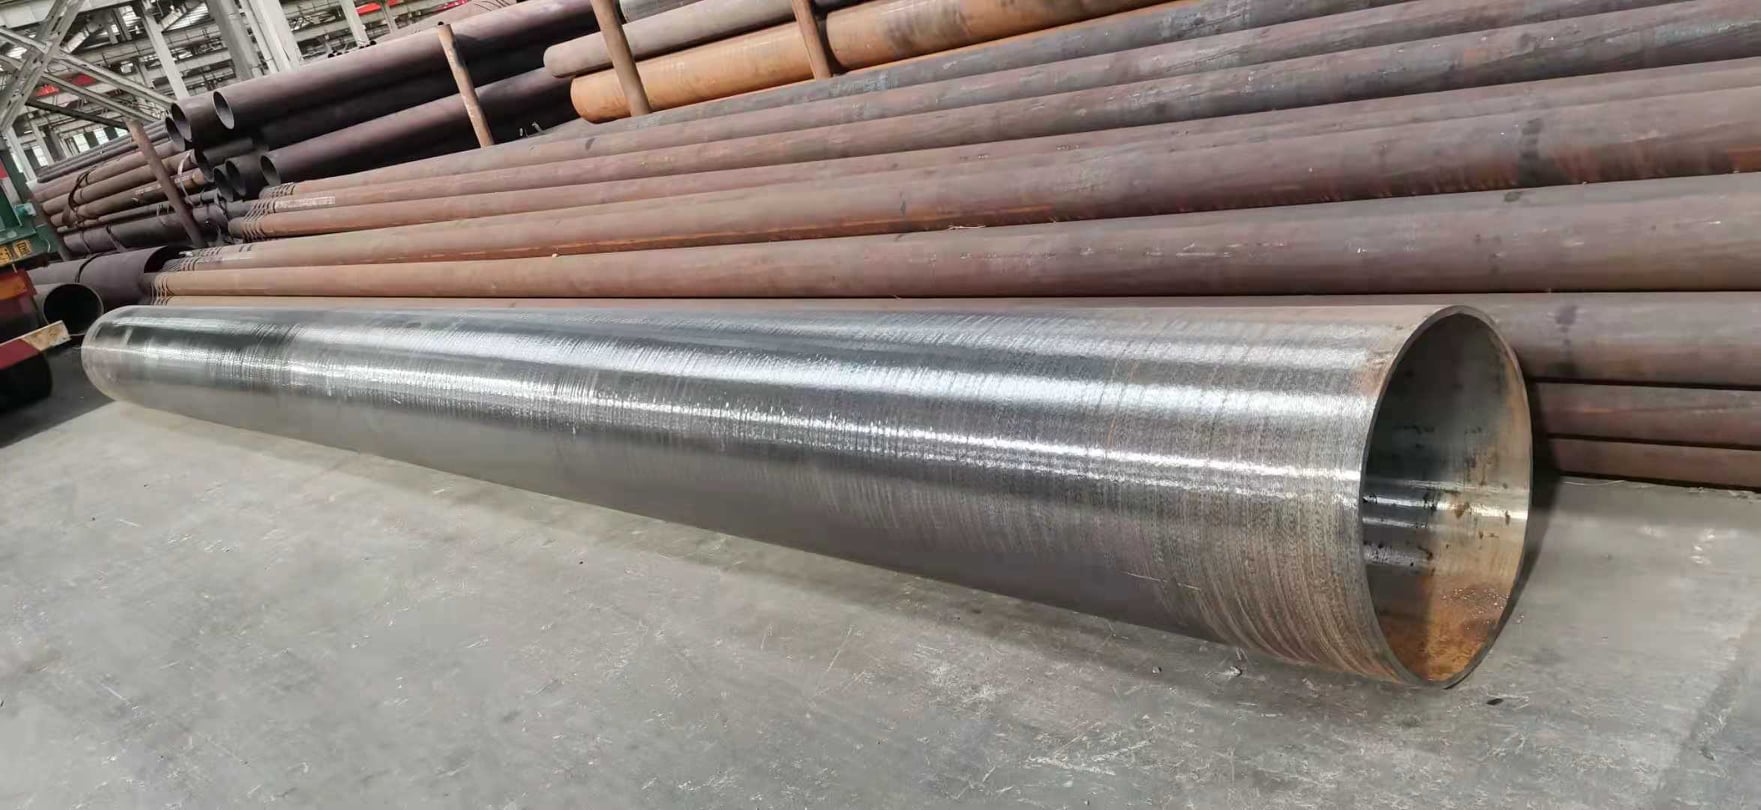
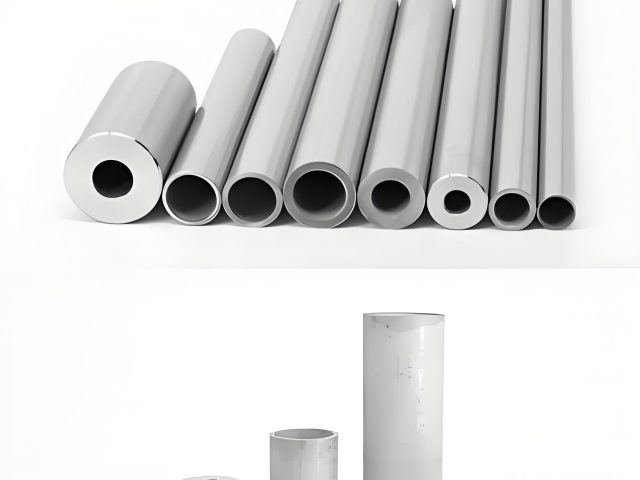
EN 10305-1 E235 Seamless Precision Steel Pipe
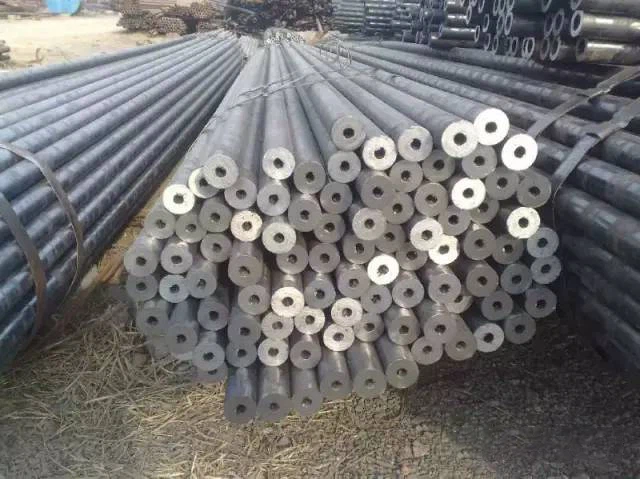
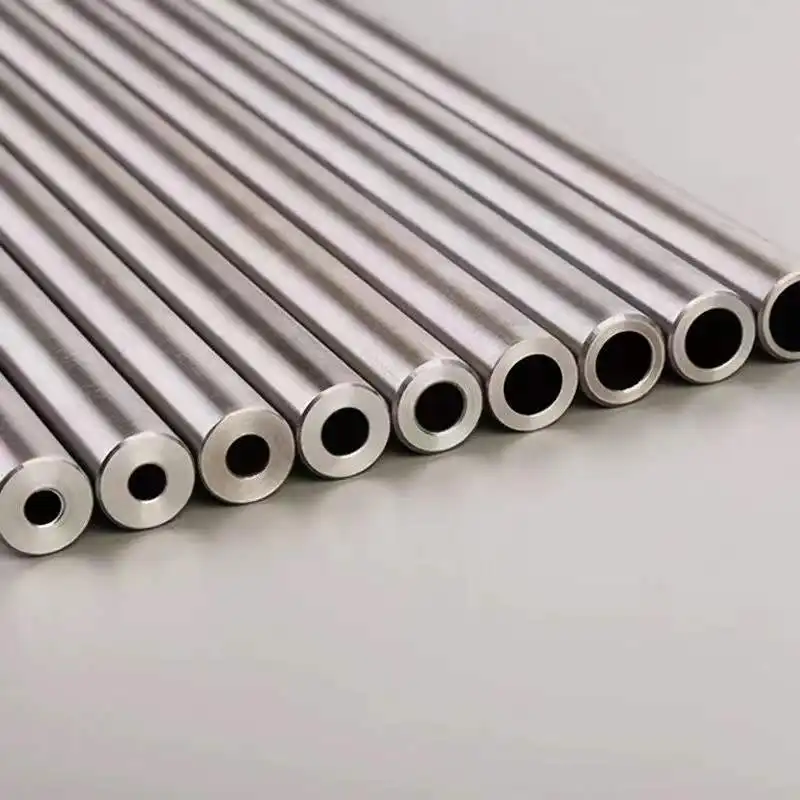
EN 10305-1 is a European standard that specifies the technical delivery conditions for seamless cold-drawn steel tubes of circular cross-section used in precision applications. These tubes are typically employed in industries such as automotive, mechanical engineering, hydraulic systems, and general engineering, where high dimensional accuracy, smooth surfaces, and reliable mechanical properties are critical.
The designation “E235” refers to a specific steel grade within this standard, characterized by its minimum yield strength of 235 MPa in its normalized condition (E235+N). The “seamless” aspect indicates that the tube is produced without a welded seam, ensuring uniformity and strength, while “precision” highlights the tight tolerances and superior surface quality achieved through cold drawing.
This response will systematically address the chemical composition, mechanical properties, schedules (wall thicknesses), dimensional accuracy, and specifications of EN 10305-1 E235 seamless precision steel pipes, supplemented with tables for clarity.
1. Chemical Composition of EN 10305-1 E235
The chemical composition of E235 steel is defined by EN 10305-1 to ensure consistency in material properties across applications. The composition is primarily low-carbon, with controlled amounts of alloying elements to facilitate cold forming and achieve the desired mechanical properties.
Table 1: Chemical Composition of EN 10305-1 E235 Steel (As per EN 10305-1 Standard)
| Element | Maximum Percentage (%) |
|---|---|
| Carbon (C) | 0.17 |
| Silicon (Si) | 0.35 |
| Manganese (Mn) | 1.20 |
| Phosphorus (P) | 0.025 |
| Sulfur (S) | 0.025 |
Notes:
- The values represent the maximum allowable percentages unless otherwise specified.
- Additional elements like aluminum may be present for deoxidation purposes, but they are not typically specified unless required by the purchaser.
- The low carbon content (≤0.17%) classifies E235 as a mild steel, making it easy to form and shape while maintaining sufficient strength for precision applications.
The chemical composition ensures that E235 steel has good weldability and formability, which are essential for manufacturing components such as hydraulic cylinders, fuel injection lines, and automotive parts.
2. Mechanical Properties of EN 10305-1 E235
The mechanical properties of E235 seamless precision steel pipes vary depending on the delivery condition specified in EN 10305-1. Common delivery conditions include:
- +C (Cold-drawn/hard): No heat treatment after the final cold drawing.
- +LC (Cold-drawn/soft): Light finishing pass after cold drawing.
- +SR (Stress-relieved): Stress-relieved after cold drawing.
- +A (Annealed): Annealed after cold drawing.
- +N (Normalized): Normalized after cold drawing.
Table 2: Mechanical Properties of EN 10305-1 E235 in Different Delivery Conditions
| Delivery Condition | Yield Strength (ReH) (MPa) | Tensile Strength (Rm) (MPa) | Elongation (%) | Hardness (HB) (Approximate) |
|---|---|---|---|---|
| +C | ≥235 | 340–480 | ≥6 | 150–190 |
| +LC | ≥235 | 340–480 | ≥10 | 140–180 |
| +SR | ≥235 | 340–480 | ≥12 | 130–170 |
| +A | ≥195 | 310–450 | ≥22 | 110–150 |
| +N | ≥235 | 340–480 | ≥22 | 120–160 |
Notes:
- The yield strength and tensile strength values are minimums unless a range is specified.
- Elongation is measured on a gauge length of 5.65√So, where So is the original cross-sectional area.
- Hardness values are approximate and depend on the exact processing conditions.
- The normalized condition (+N) provides the best balance of strength and ductility, making it suitable for many applications.
These mechanical properties make E235 seamless precision steel pipes versatile for applications requiring both strength and the ability to withstand deformation without cracking.
3. Schedules of EN 10305-1 E235 Seamless Precision Steel Pipes
In piping terminology, “schedules” typically refer to the wall thickness of the pipe relative to its outer diameter (OD), standardized in systems like ASME B36.10 or B36.19. However, EN 10305-1 does not use the term “schedule” in the same way; instead, it specifies dimensions (outer diameter and wall thickness) directly, with tolerances defined for precision applications.
For practical purposes, EN 10305-1 pipes can be correlated to schedules like SCH 10, SCH 40, SCH 80, etc., by comparing their wall thicknesses. Below is a table illustrating typical dimensions and their approximate equivalence to schedules.
Table 3: Typical Dimensions of EN 10305-1 E235 Seamless Precision Steel Pipes
| Outer Diameter (mm) | Wall Thickness (mm) | Approximate Schedule | Weight (kg/m) |
|---|---|---|---|
| 6 | 1.0 | SCH 10 | 0.131 |
| 10 | 1.5 | SCH 40 | 0.314 |
| 20 | 2.0 | SCH 40 | 0.896 |
| 30 | 3.0 | SCH 80 | 1.977 |
| 50 | 4.0 | SCH 80 | 4.356 |
Notes:
- The weights are calculated using the formula: Weight (kg/m) = (OD – WT) × WT × 0.02466, where OD is the outer diameter and WT is the wall thickness in mm.
- EN 10305-1 allows for a wide range of OD and WT combinations, typically from 4 mm to 260 mm OD and 0.5 mm to 25 mm WT, depending on manufacturer capabilities.
- The “schedule” equivalence is approximate and based on ASME standards for comparison purposes.
Since EN 10305-1 focuses on precision, the standard does not explicitly define schedules but rather provides dimensional ranges and tolerances (discussed later).
4. Dimensional Accuracy of EN 10305-1 E235 Seamless Precision Steel Pipes
One of the defining features of EN 10305-1 pipes is their high dimensional accuracy, achieved through cold drawing. The standard specifies tolerances on outer diameter (OD), wall thickness (WT), and length, ensuring that these tubes meet the stringent requirements of precision applications.
Table 4: Dimensional Tolerances as per EN 10305-1
| Parameter | Tolerance (Standard Quality) | Tolerance (Higher Quality) |
|---|---|---|
| Outer Diameter (OD) | ||
| OD ≤ 30 mm | ±0.08 mm | ±0.05 mm |
| 30 mm < OD ≤ 50 mm | ±0.13 mm | ±0.08 mm |
| OD > 50 mm | ±0.25% | ±0.15% |
| Wall Thickness (WT) | ||
| WT ≤ 1.5 mm | ±0.15 mm | ±0.10 mm |
| 1.5 mm < WT ≤ 4 mm | ±10% | ±7.5% |
| WT > 4 mm | ±10% | ±7.5% |
| Length | ||
| Fixed Length | +10 mm / 0 mm | +5 mm / 0 mm |
| Random Length | ±500 mm | ±300 mm |
Notes:
- Standard quality tolerances are typically used unless the purchaser specifies higher quality (tighter tolerances).
- Out-of-roundness is included in the OD tolerance.
- Straightness tolerance is 0.0015 times the length (e.g., 1.5 mm per meter).
This level of dimensional accuracy ensures that E235 seamless precision steel pipes can be used in applications requiring tight fits, such as hydraulic systems or machined components.
5. Specifications of EN 10305-1 E235 Seamless Precision Steel Pipes
EN 10305-1 provides a comprehensive framework for the production, testing, and delivery of E235 seamless precision steel pipes. Below are the key specifications outlined in the standard:
5.1 Scope
- Covers seamless cold-drawn steel tubes of circular cross-section for precision applications.
- Applicable to industries like automotive, mechanical engineering, and hydraulic systems.
5.2 Steel Grades
- E235 is one of several grades specified, alongside E215, E355, etc.
- Equivalent to DIN 2391 St35 (historical standard).
5.3 Delivery Conditions
- As mentioned earlier, available in +C, +LC, +SR, +A, and +N conditions.
- The choice of delivery condition depends on the application’s requirements for strength, ductility, or surface finish.
5.4 Surface Quality
- Tubes must be free from defects such as cracks, laps, or inclusions that impair usability.
- Surface roughness is typically smoother than hot-finished tubes due to cold drawing.
5.5 Testing Requirements
- Chemical composition analysis.
- Mechanical testing (tensile test, hardness test if specified).
- Dimensional inspection.
- Non-destructive testing (e.g., eddy current testing) if agreed upon.
5.6 Marking
- Tubes are marked with the standard (EN 10305-1), steel grade (E235), and manufacturer’s identification.
- Additional markings (e.g., batch number) may be included per agreement.
5.7 Certification
- Typically supplied with a 3.1 inspection certificate per EN 10204, confirming compliance with the standard.
6. Applications of EN 10305-1 E235 Seamless Precision Steel Pipes
Due to their precision and mechanical properties, E235 seamless steel pipes are widely used in:
- Automotive Industry: For fuel injection lines, power steering systems, and transmission shafts.
- Hydraulic and Pneumatic Systems: As cylinders or pressure lines.
- Mechanical Engineering: In machinery components requiring tight tolerances.
- General Engineering: For structural supports, rollers, and bushings.
7. Comparison with Other Standards
E235 under EN 10305-1 is often compared to other standards like DIN 2391 (St35) or ASTM A519 (Grade 1010/1020). Below is a brief comparison:
Table 5: Comparison of E235 with Equivalent Grades
| Standard | Grade | Approximate Yield Strength (MPa) | Carbon Content (%) |
|---|---|---|---|
| EN 10305-1 | E235 | 235 | ≤0.17 |
| DIN 2391 | St35 | 235 | ≤0.17 |
| ASTM A519 | 1010/1020 | 205–345 | 0.08–0.20 |
Notes:
- E235 is closely aligned with St35 but updated under the EN framework.
- ASTM A519 grades may have broader tolerances compared to EN 10305-1’s precision focus.
8. Practical Considerations for Using EN 10305-1 E235 Pipes
When selecting E235 seamless precision steel pipes, consider the following:
- Delivery Condition: Choose based on the balance of strength and ductility needed.
- Surface Finish: Specify if a particular finish (e.g., polished) is required.
- Tolerances: Opt for higher quality tolerances if the application demands precision.
- Testing: Request additional tests (e.g., impact testing) if the environment is harsh.
Inspection and Test List for EN 10305-1 Standard
1. General Requirements for Inspection and Testing
The EN 10305-1 standard specifies that tubes must undergo inspections and tests to confirm compliance with the requirements of the standard. Inspections can be carried out by the manufacturer, a third party, or as agreed upon between the purchaser and supplier. The standard typically requires the following:
- Inspection Certificate: Unless otherwise specified, tubes are supplied with an inspection certificate of type 3.1 per EN 10204, confirming that the products comply with the order requirements.
- Testing Frequency: Tests are performed on a batch (lot) basis or per tube, depending on the test type and agreement between the purchaser and manufacturer.
- Test Conditions: Tests are conducted at ambient temperature unless otherwise specified.
2. Types of Inspections and Tests
The EN 10305-1 standard defines a range of inspections and tests, categorized as mandatory (required by the standard) and optional (to be agreed upon between the purchaser and supplier). Below is a comprehensive list:
2.1 Mandatory Inspections and Tests
These tests are required to ensure the tubes meet the basic quality and performance requirements of the standard.
- Chemical Composition Analysis (Cast Analysis)
- Purpose: To verify that the steel grade (e.g., E235, E355) complies with the specified chemical composition limits.
- Procedure: A sample is taken from each cast (heat) to determine the content of elements such as carbon (C), silicon (Si), manganese (Mn), phosphorus (P), sulfur (S), and others as specified.
- Reference: Table 1 of EN 10305-1 provides the maximum allowable percentages for each element (e.g., for E235: C ≤ 0.17%, P ≤ 0.025%, S ≤ 0.025%).
- Frequency: One analysis per cast.
- Tensile Test
- Purpose: To determine the mechanical properties, including yield strength (ReH), tensile strength (Rm), and elongation (A).
- Procedure: A test piece is cut from the tube and subjected to a tensile test per EN ISO 6892-1.
- Reference: Table 2 of EN 10305-1 specifies mechanical properties for different delivery conditions (e.g., +C, +N). For E235 in +N condition: ReH ≥ 235 MPa, Rm = 340–480 MPa, A ≥ 22%.
- Frequency: One test per test unit (typically defined as a batch of tubes from the same cast and heat treatment lot).
- Dimensional Inspection
- Purpose: To ensure the tubes meet the specified dimensions (outer diameter, wall thickness, length) and tolerances.
- Procedure: Measurements are taken using calibrated instruments (e.g., calipers, micrometers, or gauges) to verify:
- Outer diameter (OD) tolerances (e.g., ±0.08 mm for OD ≤ 30 mm in standard quality).
- Wall thickness (WT) tolerances (e.g., ±10% for WT ≤ 4 mm in standard quality).
- Length tolerances (e.g., +10 mm / 0 mm for fixed lengths).
- Reference: Table 4 of EN 10305-1 specifies dimensional tolerances.
- Frequency: Typically 100% inspection or as agreed upon.
- Surface Quality Inspection
- Purpose: To ensure the tubes are free from surface defects that could impair their usability.
- Procedure: Visual inspection or, if agreed, additional methods (e.g., dye penetrant testing) to detect cracks, laps, inclusions, or other imperfections.
- Reference: Section 8.4.1 of EN 10305-1 specifies that tubes must have a smooth external and internal surface consistent with the manufacturing process.
- Frequency: Typically 100% inspection.
- Straightness Inspection
- Purpose: To verify that the tubes meet straightness requirements.
- Procedure: The tube is placed on a flat surface, and deviation from straightness is measured (e.g., using a straightedge and feeler gauge).
- Reference: Section 8.4.2 of EN 10305-1 specifies a straightness tolerance of 0.0015 times the length (e.g., 1.5 mm per meter).
- Frequency: Sample-based or as agreed upon.
2.2 Optional Inspections and Tests
These tests are not mandatory but can be specified by the purchaser at the time of inquiry and order. They are typically requested for applications with stringent requirements.
- Flattening Test
- Purpose: To assess the ductility of the tube by flattening it without cracking.
- Procedure: A section of the tube is flattened between two parallel plates until the specified distance between the plates is reached, per EN ISO 8492.
- Acceptance Criteria: No cracks should appear on the tube surface.
- Frequency: As agreed upon.
- Drift Expanding Test
- Purpose: To evaluate the tube’s ability to undergo plastic deformation without cracking.
- Procedure: The tube end is expanded using a conical mandrel until a specified increase in diameter is achieved, per EN ISO 8493.
- Acceptance Criteria: No cracks should appear on the expanded section.
- Frequency: As agreed upon.
- Non-Destructive Testing (NDT)
- Purpose: To detect internal or surface defects without damaging the tube.
- Procedure: Common methods include:
- Eddy current testing (per EN ISO 10893-2) for surface and subsurface defects.
- Ultrasonic testing (per EN ISO 10893-10) for internal defects.
- Acceptance Criteria: Tubes must meet the specified acceptance level (e.g., E4 for eddy current testing).
- Frequency: As agreed upon, typically 100% for critical applications.
- Hardness Test
- Purpose: To measure the hardness of the tube material, particularly in specific delivery conditions (e.g., +C or +SR).
- Procedure: Hardness is measured using methods like Brinell (HB), Vickers (HV), or Rockwell (HR), per EN ISO 6506-1, 6507-1, or 6508-1.
- Acceptance Criteria: Hardness values are not specified in EN 10305-1 but can be agreed upon between the purchaser and manufacturer.
- Frequency: As agreed upon.
- Impact Test
- Purpose: To assess the toughness of the tube material, particularly for low-temperature applications.
- Procedure: A notched test piece is subjected to an impact test per EN ISO 148-1 at a specified temperature.
- Acceptance Criteria: Minimum absorbed energy values are agreed upon between the purchaser and manufacturer.
- Frequency: As agreed upon.
- Roughness Measurement
- Purpose: To measure the surface roughness of the internal or external tube surface.
- Procedure: Surface roughness is measured using a profilometer per EN ISO 4287.
- Acceptance Criteria: Agreed upon between the purchaser and manufacturer (e.g., Ra ≤ 0.8 µm for hydraulic applications).
- Frequency: As agreed upon.
- Product Analysis
- Purpose: To verify the chemical composition of the finished product (as opposed to cast analysis).
- Procedure: A sample is taken from the finished tube and analyzed for elemental content.
- Acceptance Criteria: Must comply with the specified limits in Table 1 of EN 10305-1, with allowable deviations per the standard.
- Frequency: As agreed upon.
2.3 Additional Requirements
The standard allows for additional inspections or tests to be specified by the purchaser, such as:
- Marking Verification: Ensuring that tubes are marked with the correct information (e.g., standard number, steel grade, manufacturer’s mark).
- Packaging Inspection: Verifying that tubes are packed and protected as per the order requirements.
- Corrosion Resistance Test: If the tubes are supplied with a protective coating (e.g., phosphated or galvanized), tests like salt spray testing (per EN ISO 9227) may be specified.
3. Test Units and Sampling
The EN 10305-1 standard defines a test unit as a batch of tubes from the same cast, dimensions, and heat treatment condition. Sampling requirements are as follows:
- Chemical Composition: One sample per cast.
- Mechanical Tests (Tensile, Flattening, etc.): One sample per test unit, typically defined as a batch of 400 tubes or 10 tonnes, whichever is smaller.
- Dimensional and Surface Inspection: Usually 100% inspection, but sampling may be agreed upon.
- NDT: Typically 100% for critical applications, or as agreed upon.
4. Test Reports and Documentation
Upon completion of the required tests, the manufacturer provides an inspection certificate (type 3.1 per EN 10204) that includes:
- Results of mandatory tests (chemical composition, mechanical properties, dimensions).
- Results of optional tests (if specified).
- Declaration of compliance with the standard and the purchaser’s requirements.
- Identification of the test unit (e.g., batch number, cast number).
If additional documentation is required (e.g., a 3.2 certificate involving third-party inspection), this must be specified at the time of order.
5. Retesting and Non-Conformance
If a tube fails to meet the specified requirements during testing, the standard provides provisions for retesting:
- Retesting: Additional samples may be taken from the same test unit for retesting.
- Rejection: If the retest also fails, the test unit may be rejected, or individual tubes may be retested and sorted.
- Reprocessing: Tubes failing mechanical or dimensional requirements may be reprocessed (e.g., heat-treated again) and retested, subject to agreement.
6. Variations Across EN 10305 Parts
While this list focuses on EN 10305-1 (seamless cold-drawn tubes), other parts of the EN 10305 series (e.g., EN 10305-2 for welded cold-drawn tubes) have similar requirements with minor adjustments:
- EN 10305-2 (Welded Cold-Drawn Tubes): Includes additional tests for the weld seam, such as a weld bend test or NDT on the weld.
- EN 10305-3 (Welded Cold-Sized Tubes): Focuses on dimensional and surface quality tests suitable for less stringent applications.
- EN 10305-4 (Seamless Tubes for Hydraulic Systems): May require additional tests like pressure testing for hydraulic applications.
7. Practical Considerations for Inspection and Testing
When implementing the inspection and test plan for EN 10305-1 tubes, consider the following:
- Application Requirements: Specify optional tests (e.g., NDT, impact testing) for critical applications like hydraulic systems or automotive components.
- Third-Party Inspection: For high-stakes projects, a 3.2 certificate with third-party oversight may be preferred.
- Sampling Plans: Agree on sampling frequencies and methods to balance cost and quality assurance.
- Test Equipment Calibration: Ensure all measurement and test equipment is calibrated to traceable standards.
